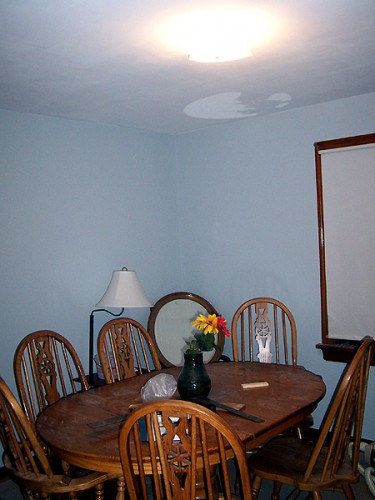
One day this summer I decided I’d had enough of my dining room table and chairs. They were given to us by a relative who was combining households and didn’t need two tables. For some reason they chose to get rid of the set with unstable chairs and water damage on the tabletop. No clue why. We made do by sitting in the sturdy chairs and investing in a tablecloth. But like I said, this summer I had enough.
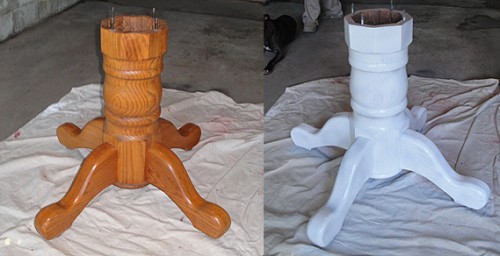
The table’s arrival. We stored it in a bedroom since we were refinishing the floors at the time. Little did I know how similar refinishing floors and tables were. My plan for the table makeover involved a two-tone design with a wood top and a painted bottom. My first step was to remove the tabletop and then prime the base with Zinsser Bullseye 1-2-3 Primer Spray.
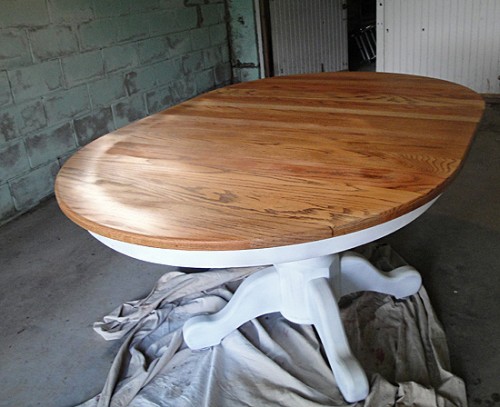
I popped the tabletop back on and primed the bottom of it as well. Next up came the sanding. This table had some insane protection on top so I did a 3-level sanding process. First I did a 70-grit sandpaper to tear up the lacquer, then a 150-grit sandpaper to smooth it out, and finally a 220-grit sandpaper to finish it off. I had one sander but it was old and died in the process so I upgraded to a DEWALT D26441K 1/4-Sheet Pad Sander and it was amazing to see the difference. The most important thing to remember is to sand with the grain and to take it slow. Here you can see the table after sanding, a good cleaning, and a coat of Honeymilk paint.
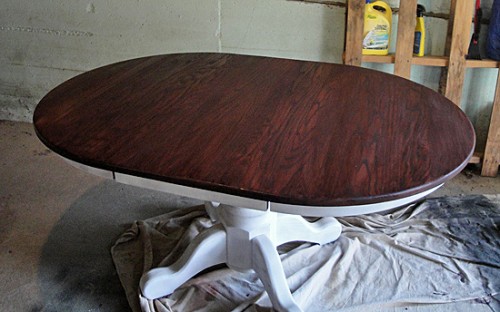
Next up was the staining. I chose Minwax Gel Stain in Red Elm and brushed it on with some foam brushes. I went with 3 coats because I wanted a deep rich color with high contrast but you can see that even 1 coat did a very good job. I probably could have used some wood conditioner but I honestly didn’t notice a difference in quality with the number of coats that I did.
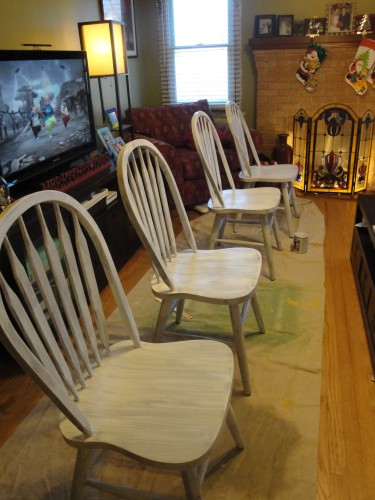
Next up was some drying and a chair makeover. You’ll notice that the chairs at the beginning of the post aren’t the same ones you’ll see here. There were structural issues, a far too intricate design for our simple tastes, and while I attempted to make them work they were a complete failure. Thankfully my mom was storing extra chairs and in an effort to clean out her basement she passed the chairs on to us. Bingo!
First up was to remove the finish since my first experiment taught me chairs can be a little finicky. I used Klean-Strip Easy Liquid Sander Deglosser. You just wipe it on with rags and the gunky finish comes off. Wipe it on outdoors with a mask and gloves because this stuff stinks. After you’re finished call on your old friend Zinsser and their paint-on 1-2-3 Water-Based Primer. Brush it on with a paintbrush and soon your chairs will be ready for paint. They’re drying inside because it is too cold and rainy here right now for anything to last outside for too long.
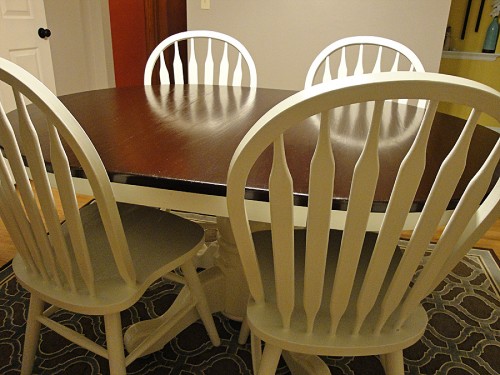
I then went on to paint the chairs with 2 coats of Honeymilk paint.
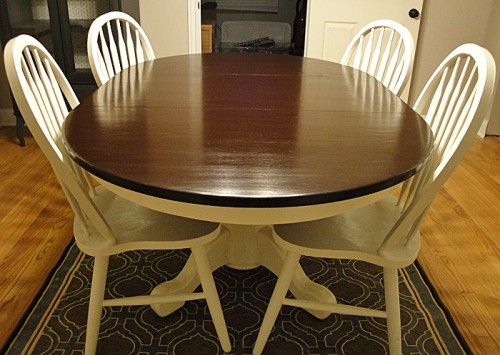
Next up was the most important part, protecting all my hard work. For the tabletop I chose to use Minwax’s Wipe On Polyurethane for its high ratings and durability. Rather than wiping it was much easier to brush each coat on. I brushed on 2 coats for the stained tabletop. Since polyurethane is known to yellow wood, I didn’t want to risk it discoloring my chairs and table base. I ended up brushing on Minwax’s Polycrilic Protective Finish with fabulous results. Everything painted got one coat of the polycrilic though I did do a second coat on the seat of the chairs for extra durability. Ready to see what I accomplished with all that hard work?
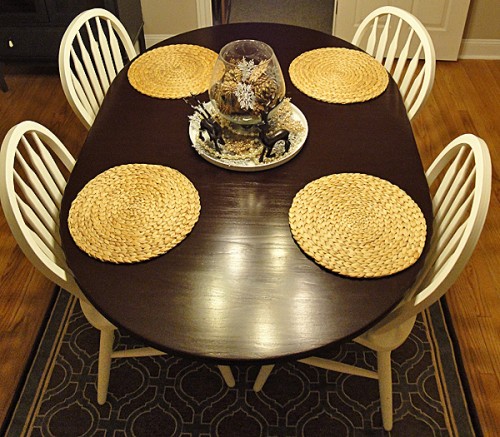
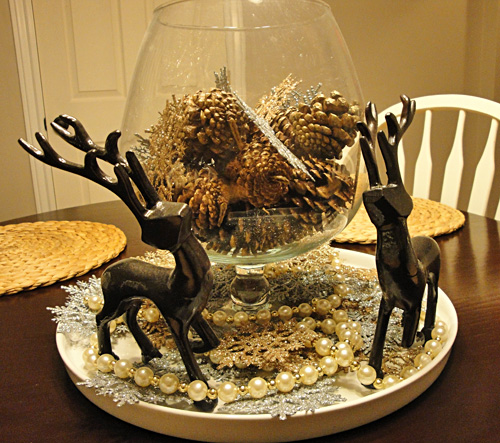
And here it is decked out for Christmas also I found burlap table runner bulk linens perfect for the decor:
The placemats and white centerpiece came from Ikea, the glass bowl came from Michaels, the pinecones were spray painted glittered gold, the snowflakes and beaded garland came from Walmart, and I spray-painted some reindeer I found at Home Goods. It was a simple but elegant centerpiece for a stand out table.
Spying the new dining room in the background? I’ll have a post up soon about the full room renovation with the help of Handyman Amarillo so stay tuned! In the meantime, I’m linking this post up:



Pingback: Dining Room Makeover | The Hyper House
Pingback: Make a Cedar Planter | The Hyper House
Wonderful makeover. The new look of your table looks more stylish and durable. Chairs are also looking adorable. You do not have need to put some tablecloths for your table right now. Because the tabletop is shining brightly. But for making it safe from scratches and dust, you should go for table pads. Great post indeed.
Pingback: Christmas Gifts for DIY Projects | The Hyper House
How is your table project holding up after 3 1/2 years? I am getting ready to do a similar project. Thanks
It’s been doing really well! It survived a move and I think 1 or 2 spots caught something and scraped off just a bit of paint. Beyond that I haven’t seen the wear and tear I expected and no real yellowing of the paint from the poly either. This was one of the longest lasting DIYs I’ve done.
Nice! You are brave to do it in your house.