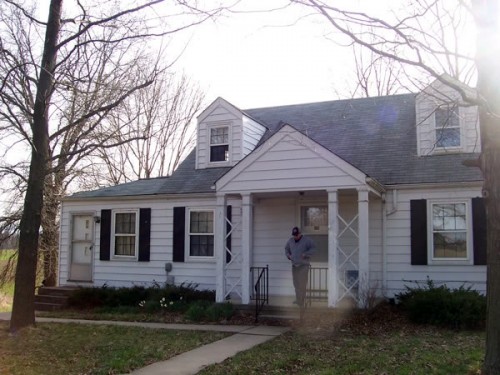
This past week my husband and I decided to tackle our front flower bed. It hadn’t been maintained very well before we bought the house and there were some massive bushes taking over.
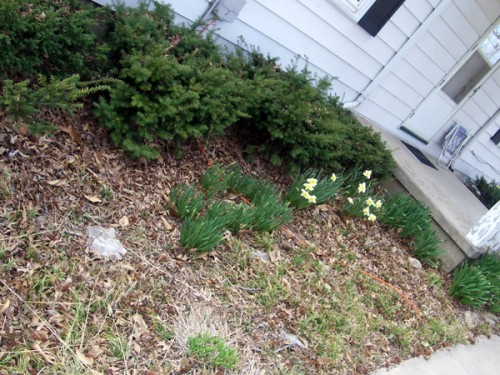
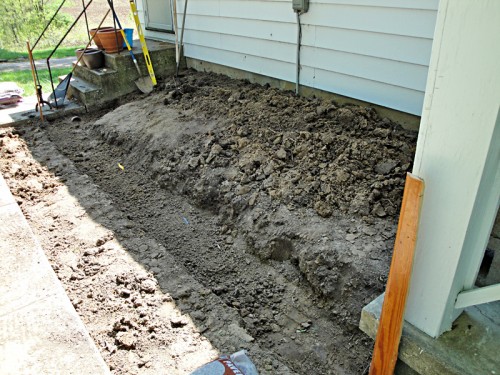
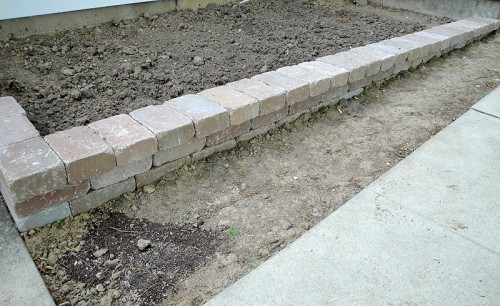
The garden we tackled this weekend is the one on the left. Over the years we had already replanted the daffodils and removed the bushes but we were left with a big pile of dirt just sitting there looking ugly. We had removed the front tree next to the flower bed so we knew that sun might actually climb through the trees at some point this year. We wanted to build a retaining wall to create some depth and dimension in the garden.
Little did we know we’d see 90 degree weather in March. It’s Missouri and we’re used to weird weather but this was out of control. Naturally we were right in the middle of the project when that 90 degree weather hit, then rain, and I was suffering a case of poison ivy from another project so let’s just say this project didn’t go as planned.
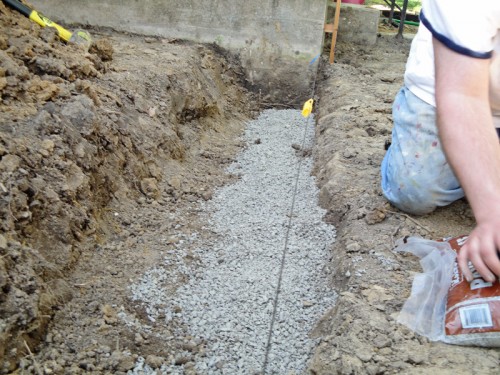
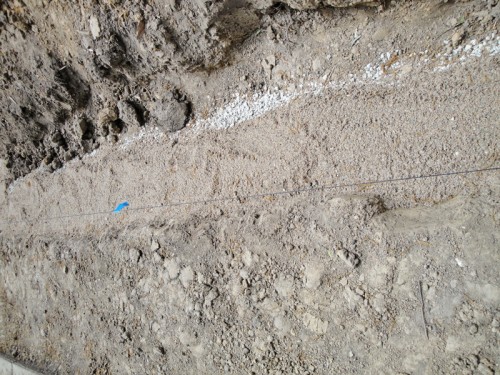
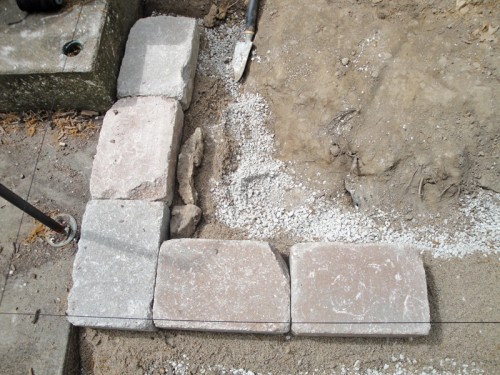
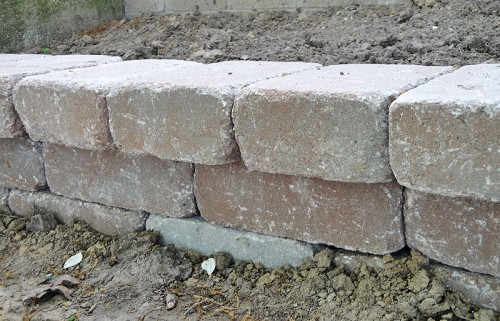
As planned would be to dig out the dirt to form a trench, layer 2 inches of gravel at the bottom of the trench, layer an inch of sand on top of the gravel, and then place 3 rows of pavers on top of all that. Then we would sip sweet tea, admire our work and be awesome.
What really happened was something like:
1. Discuss what pavers we want. Refuse to agree on anything and take a zillion trips to Lowes and Home Depot
2. Wake up Saturday morning to see husband digging a trench. Realize that the roots from the removed tree made that flower bed their home. Use shears to cut out roots and scowl at the past homeowners and their bad decisions.
3. Realize that we made a giant trench and had no clue on paver choice. Rather than dwell on the possible mistake we made we just decided to try to make a guide to help keep our future work level.
4. Go to the store and finally agree that we both don’t hate 2 pavers and that 1 is cheaper so it will win if we like the look at our house. Buy 5 bags of paver base (gravel), 3 bags of sand, and 3 pavers. Put everything in the car and realize it is dragging the ground.
5. Get home and agree we like the pavers but we need about 62 more. Considering the car situation, realize we’ll need a delivery and freak out over the cost.
6. Go online and discover that for the next 24 hours Lowes will deliver for free. Place the order for 62 pavers, go out and grab pizza, then put down some paver base and paver sand.
7. Realize we made the trench way too big for these pavers, make our 4th trip into town for the night and pick up more paver base and sand. Work our butts off the next day in 90 degree temps and start to regret a lot of life choices.
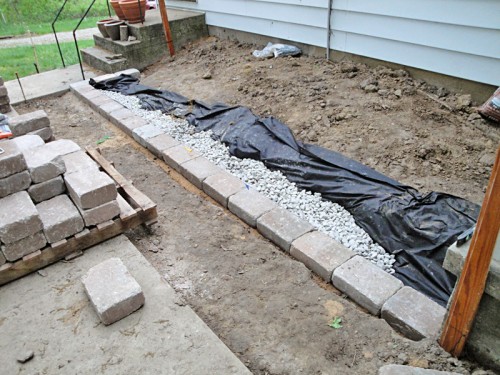
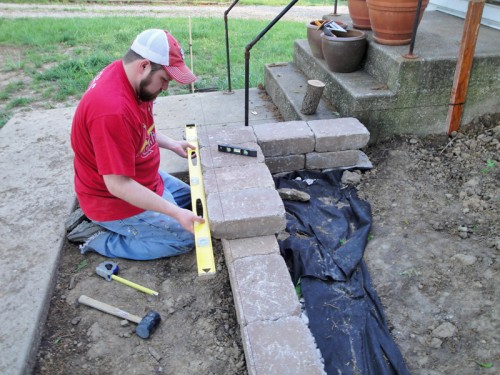
8. The pavers arrive Tuesday morning and we spend the second 90 degree day putting row 1 down. There’s a lot of leveling that goes on here. Realize we’ll have to cut one paver and decide we’ll do that and row 2 on Wednesday.
9. Temps are only in the 80s but the poison ivy has spread from my arm to the rest of my body. Run to the drug store for all the drugs in the world. Husband grabs a chisel from the store to split the pavers along with 2 tubes of landscape adhesive so our pavers will stay in place. We cut one paver down to size and then lay row 2 with adhesive. It gets dark really early (okay, this is a lie– it was Opening Day) so we end the evening after row 2.
10. It rains overnight so we decide to let the pavers dry before adding the next row and its adhesive. We still take a trip into town.
11. Friday we work our butts off and lay down the top row of pavers minus the end one that needs to be cut down. It’s just too dark to see the cutting lines.
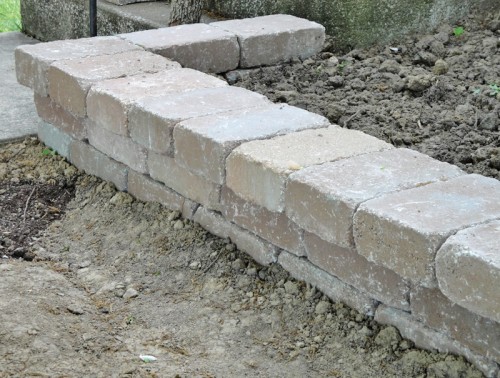
12. Saturday I wake up and go out with friends and when I come home the flower bed is finished, the dirt is pushed back in place, the lawn is mowed and my husband wants to go out for dinner. An Easter miracle! (or just an amazing husband)
In reality our quick and easy flower bed went from me wanting to put down a few landscape timbers to a week long project but the final look is so much nicer. We still have to add some soil and compost, some plants, and some mulch but now we feel like paver laying pros and figure we gained a lot of knowledge for our next paver project. I’m happy to say it’s still standing and my husband and I are no longer regretting this project because it looks so nice. It was almost worth all the trouble but I really wish we had checked the 10-day forecast instead of the weekend forecast before starting.
Lesson learned:
- Check the weather
- Have a full tank of gas for all those trips into town when you inevitably forget something.
- Make your wall look awesome so you forget all the trouble your project was

Pingback: Frozen Cookie Pie | The Hyper House
Yep. You have an amazing husband! And you are pretty amazing yourself. Great work with the pavers – looks attractive and will become a beautiful place eventually.
Pingback: Front Flower Bed: After | The Hyper House
The new retaining wall looks wonderful!!! I am just wondering how you know about using some kind of adhesive? I hadn’t heard of that before, and wondering how you put it on? Hope you might be able to email me, would love to know! (We have a 150 year old farmhouse, and added a step with just plain (and lose) blocks, and am wondering if we should be gluing them?)
Anyway, hugs from Michigan – Diane
Most walls are fine without an adhesive. The area we built the wall at used to flood so we were worried about it washing out and the stones shifting. We chatted with the team at Lowes and they pointed us towards an outdoor adhesive in the outdoor section. They said it can also prevent stacks higher than two from shifting so depending on how high you go you might want it. You can find it at most hardware stores near the caulk.
Pingback: Garden Plans | The Hyper House